Run squids with Ganache or Hardhat
Objective
Here we show how it is possible to index an Ethereum development node running locally. This is useful for those who want to start developing a squid ETL or API in a local environment without waiting for the contract to be deployed to a testnet.
Pre-requisites
- Either one of Ganache or Hardhat
- Subsquid CLI
- Docker
Setup
In this tutorial we will be using a layout in which the squid and the Hardhat/Ganache setup share the same folder. Create a new squid by running:
sqd init ethereum-local-indexing -t evm
Here, ethereum-local-indexing is the project name and evm refers to the evm template.
Install the dependencies and update evm-processor and typeorm-store to their ArrowSquid versions:
cd ethereum-local-indexing
npm i
npm i @subsquid/evm-processor@next @subsquid/typeorm-store@next
Next, we set up a local EVM development environment. We consider two common options: Hardhat and Ganache.
If you chose Hardhat
1. Create project
In a terminal, navigate to the squid project root folder. Prepare it by running
rm README.md
mv tsconfig.json tsconfig.json.save
This will prevent collisions between Subsquid and Hardhat files.
Next, run
npx hardhat
to initialize the Hardhat project. When prompted, choose TypeScript project and keep all other options at defaults. Finally, overwrite tsconfig.json provided by Hardhat:
mv tsconfig.json.save tsconfig.json
2. Configure Hardhat automining
Then, open the hardhat.config.ts and replace the HardhatUserConfig object with this one:
const config: HardhatUserConfig = {
  defaultNetwork: "hardhat",
  networks: {
    hardhat: {
      chainId: 1337,
      mining: {
        auto: false,
        interval: [4800, 5200]
      }
    },
  },
  solidity: "0.8.17",
};
The mining configuration will continuously mine blocks, even if no events or transactions are executed. This can be useful for debugging. You can read more about it on hardhat official documentation.
3. Sample contract
There should be a contracts subfolder in the project folder now, with a sample contract named Lock.sol. To compile this contract and verify its correctness, run
npx hardhat compile
You should find the contract's ABI at artifacts/contracts/Lock.sol/Lock.json. We will use this file in squid development.
4. Launch hardhat node
From the project root folder, run
npx hardhat node
5. Deploy the contract
The node will keep the console window busy. In a different terminal, run this command:
npx hardhat run scripts/deploy.ts --network localhost
If the contract deployed successfully, the output should look like
Lock with 1 ETH and unlock timestamp 1704810454 deployed to 0x5FbDB2315678afecb367f032d93F642f64180aa3
Take note of the contract address, you'll need it later.
If you chose Ganache
Install Truffle and Ganache packages.
1. Truffle project, sample contract
Let's create a new truffle project with a sample contract. In the project main folder run
truffle unbox metacoin
Compile the contracts with
truffle compile
You should find the contract's ABI at build/contracts/MetaCoin.json. It will be useful for indexing.
2. Create a workspace
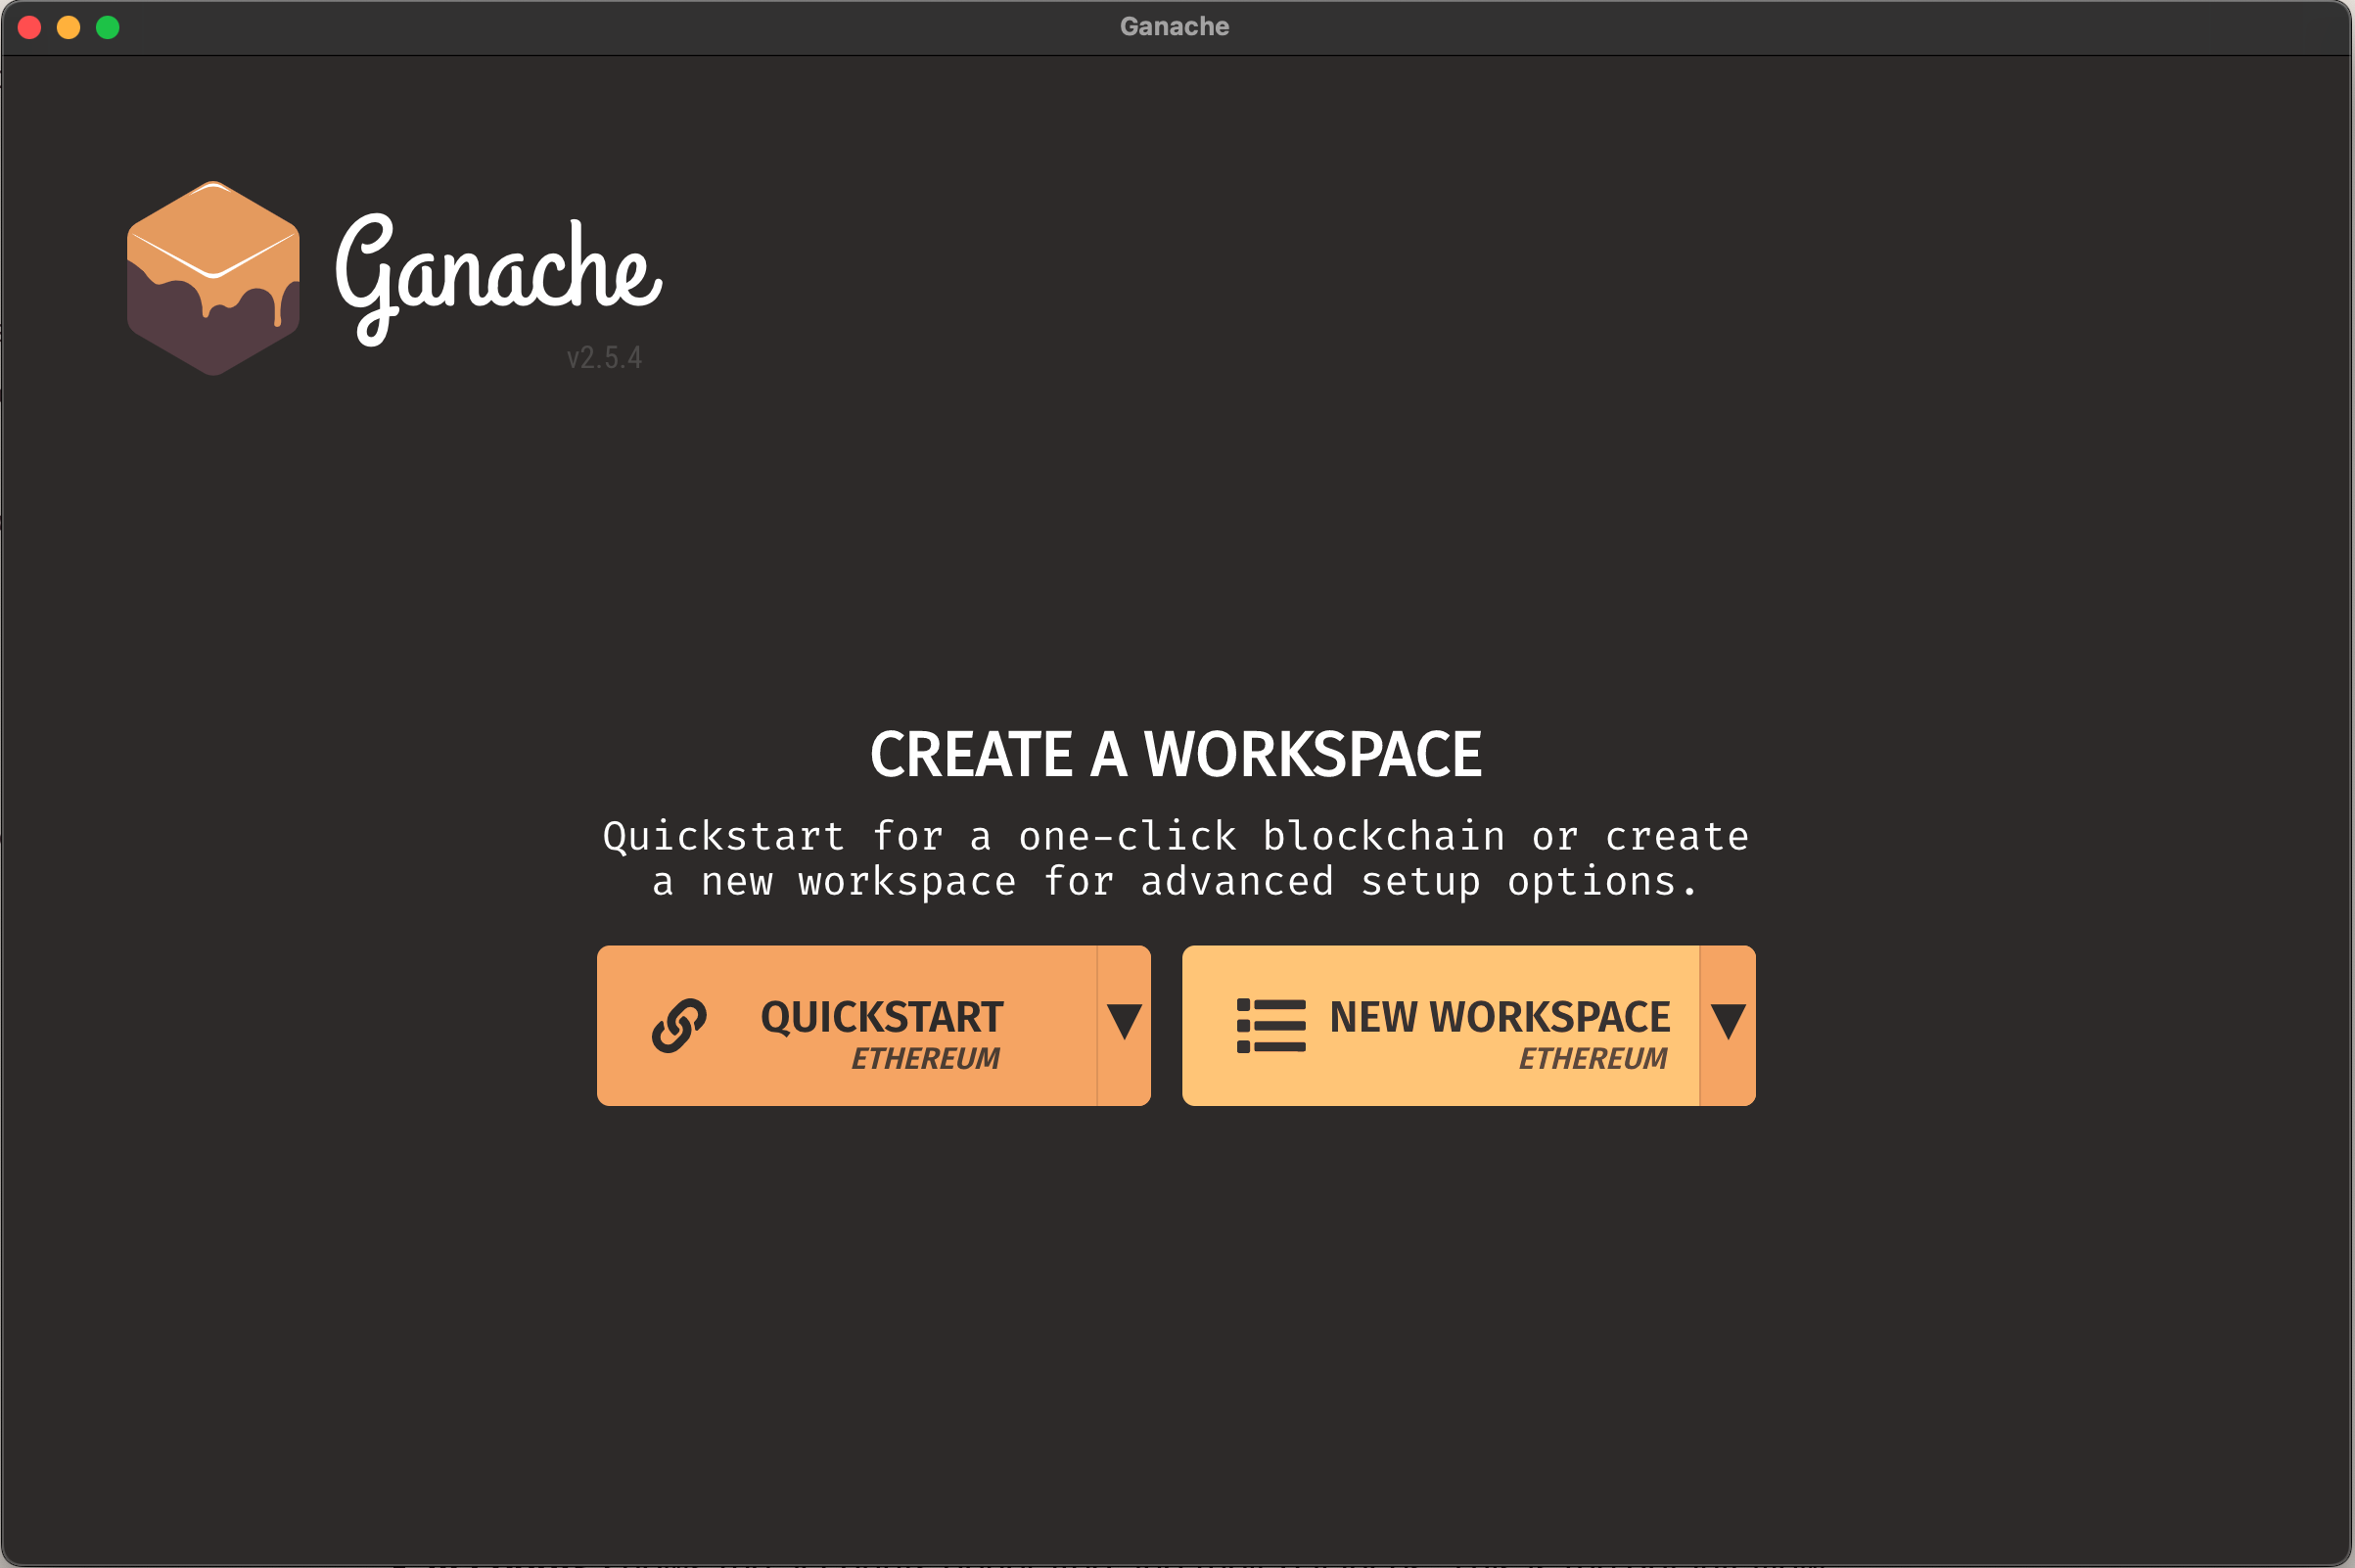
Launch the Ganache tool and select the New Workspace (Ethereum) option.
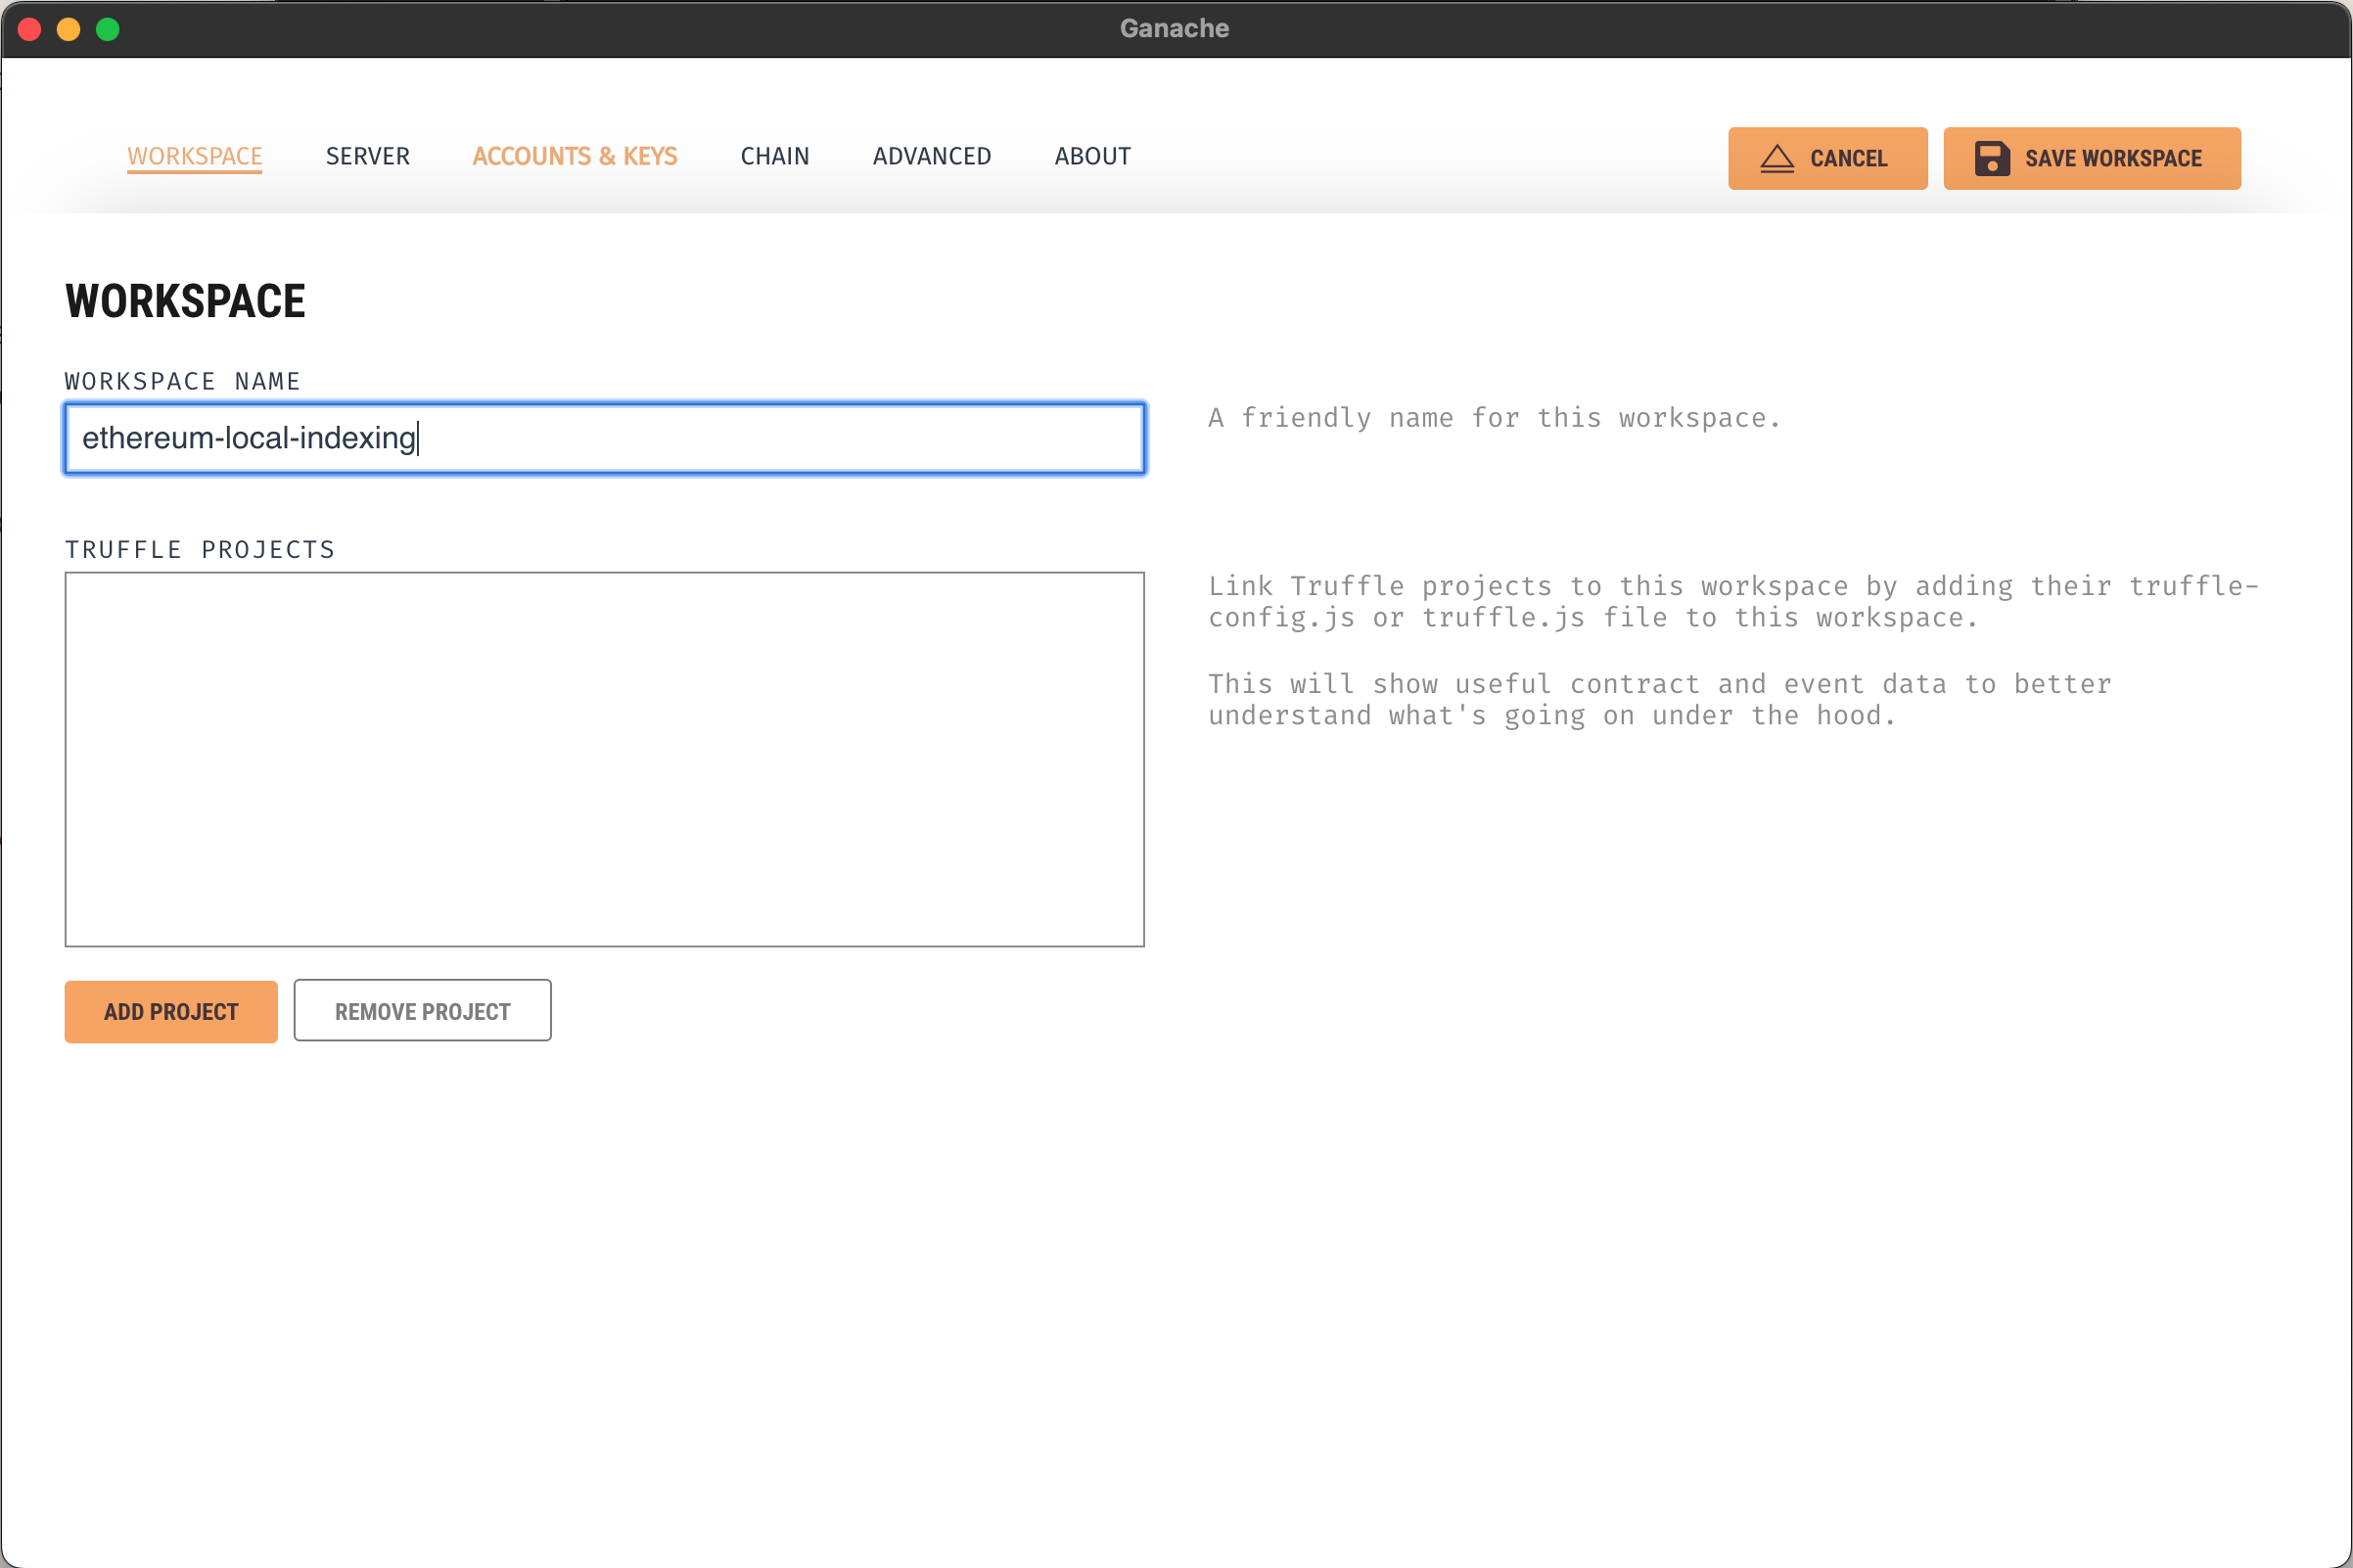
Next, provide a name for the workspace and link the Truffle project we just created to it. To do that, click Add project and select the truffle-config.js file in the project root folder. Finally, select the Server tab at the top.
In this window, change the server configuration to the exact values reported in this image.
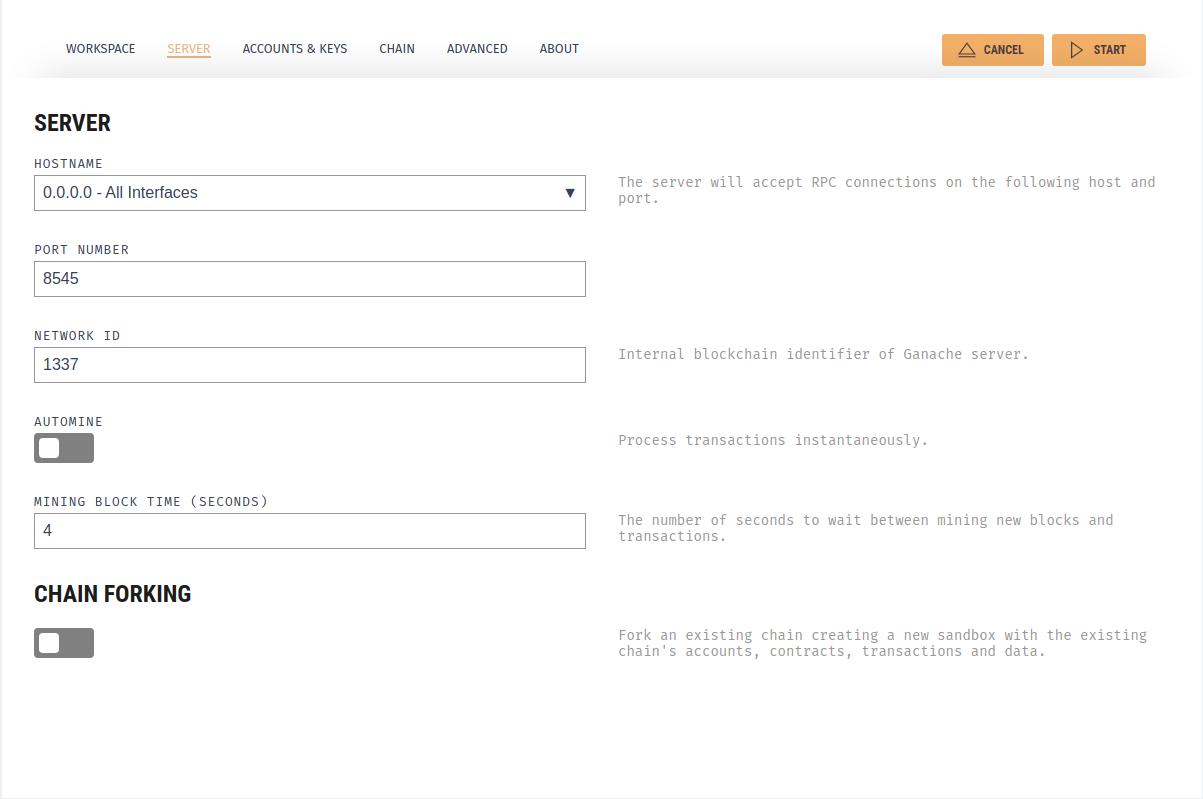
The AUTOMINE option is disabled to ease the debugging.
Finally, click "Start" to launch the blockchain emulator.
3. Deploy a smart contract
Configure Truffle by uncommenting the development section in truffle-config.js and setting its properties as follows:
    development: {
      host: "127.0.0.1",     // Localhost (default: none)
      port: 8545,            // Standard Ethereum port (default: none)
      network_id: "1337",    // Any network (default: none)
    },
Deploy the sample smart contract by running
truffle migrate
Log information similar to this should be displayed:
   Deploying 'MetaCoin'
   --------------------
   > transaction hash:    0xcdb820827306ebad7c6905d750d07536c3db93f4ef76fd777180bdac16eaa2ca
   > Blocks: 1            Seconds: 4
   > contract address:    0xd095211a90268241D75919f12397b389b1062f6F
   > block number:        329
   > block timestamp:     1673277461
   > account:             0x131D37F433BAf649111278c1d6E59843fFB26D28
   > balance:             99.98855876
   > gas used:            414494 (0x6531e)
   > gas price:           20 gwei
   > value sent:          0 ETH
   > total cost:          0.00828988 ETH

   > Saving artifacts
   -------------------------------------
   > Total cost:          0.01144124 ETH
Take note of the contract address, you'll need it later.
Squid development
The indexing setup is ready to use. To test it, replace the contents of src/processor.ts with the following.
import {TypeormDatabase} from '@subsquid/typeorm-store'
import {EvmBatchProcessor} from '@subsquid/evm-processor'

const processor = new EvmBatchProcessor()
  .setRpcEndpoint('http://localhost:8545')
  .setFinalityConfirmation(5)
  .addTransaction({})
  .setFields({
    transaction: {
      contractAddress: true
    }
  })

processor.run(new TypeormDatabase(), async (ctx) => {
  for (let blk of ctx.blocks) {
    for (let txn of blk.transactions) {
      console.log(txn)
    }
  }
})
This defines a squid that retrieves all chain transactions from the local node RPC endpoint without filtering, making sure to retrieve the addresses of the deployed contracts for deployment transactions. Run the squid with
docker compose up -d
npm run build
npx squid-typeorm-migration apply
node -r dotenv/config lib/main.js
You should see the data of one (for Hardhat) or two (for Truffle+Ganache) contract deployment transactions printed to your terminal.
Now you can develop a Subsquid-based indexer alongside your contracts. Head over to the dedicated tutorial for guidance on squid development. Use the contract's ABI (here or here) and contract address (here and here) from previous steps and be mindful that the data source of the processor class needs to be set to the local node RPC endpoint, as in the example above:
// ...
  .setRpcEndpoint('http://localhost:8545')
// ...
You can also set the data source through an environment variable like it is done in this complete end-to-end project example (outdated, but still useful). This will make sure the project code stays the same and only the environment variables change depending on where the project is deployed.